Note: You must be logged onto your Windows PC as an Administrator to install DS-Access. Also see System Requirements.
1. Put the CD in the CD drive; the Setup Wizard should start automatically. (If the Setup Wizard does not start, open the CD drive in My Computer, and click on the file named Setup.exe.)
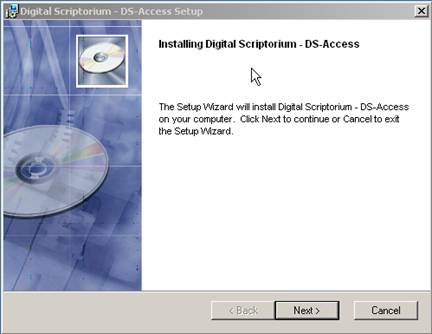
2. Click Next to continue.
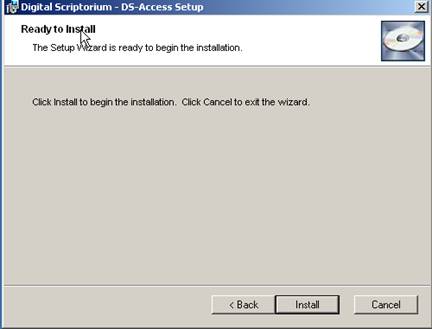
3. Click on Install.
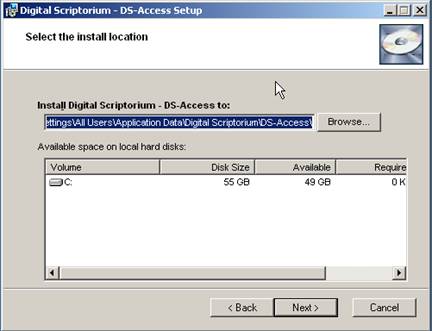
4. Select the folder where you want DS-Access to be installed. It is recommended that you accept the default location, but you can, of course, place the files elsewhere on your computer or on a network where it can be accessed by multiple users. For more information about installing DS-Access somewhere other than the default location see Advanced DS-Access Installation.
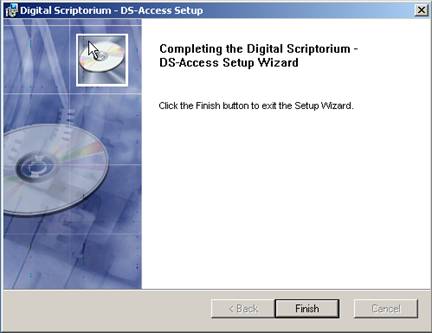
5. Click on Next. The program will install itself, while notifying you that the procedure could take several minutes. When that part of the installation sequence is complete, click on Finish.
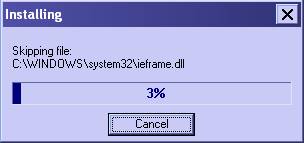
6. A final installation step will be performed, which includes either copying or skipping an additional file, depending on your system's particular configuration.
7. Congratulations! DS-Access is now installed. Proceed to Running DS-Access for the first time. If you would like to see options for running DS-Access from a network location, proceed to Advanced DS-Access Installation.