1. When DS-Access is installed it creates a shortcut icon on your Desktop, and another one on the Start Menu. Start DS-Access by double-clicking one of these shortcuts. Note: You must always use one of these shortcuts to start DS-Access.
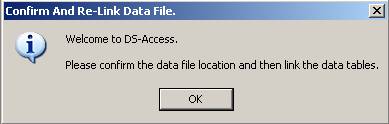
2. The first time you open DS-Access, you will be prompted to confirm the location where you chose to install it, and you must link the program's interface to it's data tables. Click OK to proceed to the File Locations screen.
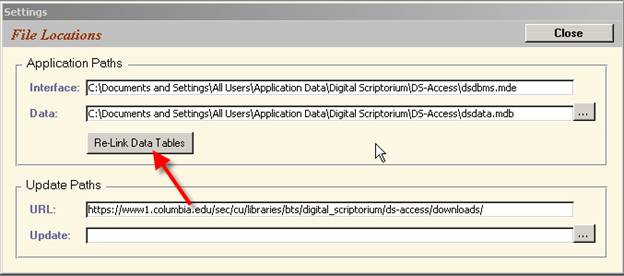
3. In the Application Paths section of the File Locations screen you will see the location of the two primary files used by DS-Access. If you have followed the instructions for an Advanced DS-Access Installation, you should now update the path to the data file (dsdata.mdb) using the browse button [...].
4. Click Re-Link Data Tables. Note: if you do not re-link the data tables, DS-Access will not work!
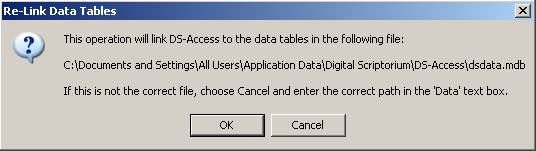
5. When prompted to confirm that the data file is correct, click OK.
6. You will see a notification when the operation is complete. Click OK to proceed. Note: Re-linking the data tables will only have to be done the very first time you run DS-Access.
7. That's it! DS-Access is now ready to use. Proceed to the Welcome Screen.